
USER MANUAL
FOLLOW THE GIVEN STEPS
Step 1: Ensure NFC Compatibility
Make sure your device is NFC-enabled. Check your smartphone or tablet settings to confirm NFC functionality. Most modern devices support NFC, but it’s always good to double-check.
Step 2: Enable NFC on Your Device
Activate NFC on your device. Navigate to your device settings and turn on NFC functionality. This is usually found in the “Connections” or “Wireless & Networks” section of your settings.
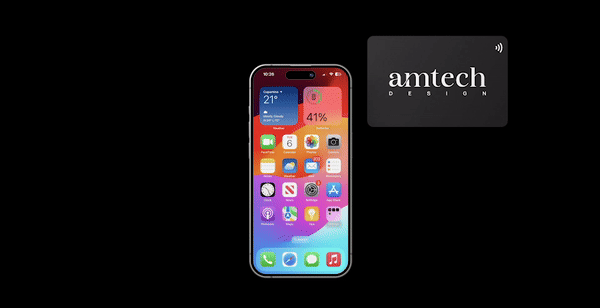
Step 3: Locate NFC Card
Locate your SocialSync NFC card. This card may be provided to you during the registration process or can be purchased separately. It contains an embedded NFC chip that links to your SocialSync profile.
Step 4: Tap NFC Card
Hold your NFC-enabled device close to the NFC card. Ensure that the NFC antenna on your device aligns with the NFC chip on the card. The optimal distance for communication is usually a few centimeters.
Step 5: Wait for Confirmation
Wait for a confirmation message on your device indicating a successful connection. This may take a few seconds.
Step 6: Explore Your Profile
After successful connection, you will receive the popup, click on the popup to access your socialsync profile.
DONE!
Congratulations! You’ve successfully used your NFC card to access your SocialSync profile. Enjoy the convenience of managing your social connections with ease.